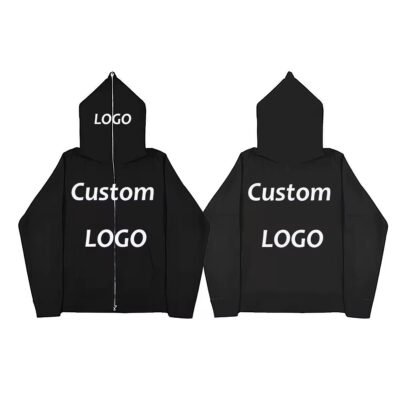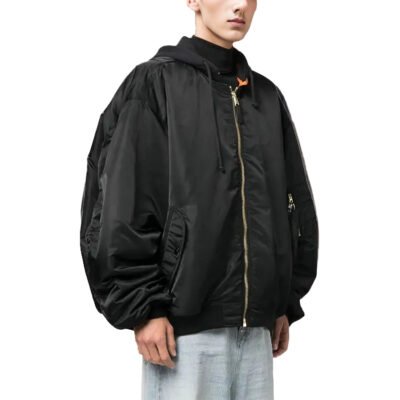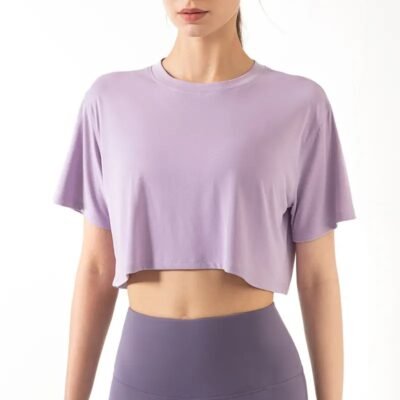
A clothing tech pack turns your design idea into instructions a manufacturer can quote, sample, and check. For a brand sourcing custom apparel, a clear pack reduces guesswork about fit, fabric, decoration, and finishing. Use this clothing tech pack checklist before requesting your next sample or bulk quotation.
What should a clothing tech pack include?
Start with a style overview, technical drawings, a bill of materials, a measurement chart, construction notes, artwork, and an approval history. Give every file the same style code and revision date. A reference garment can help communicate hand feel or silhouette, but record which details should be copied and which should change.
1. Define the style and order requirements
Identify the garment type, intended wearer, fit, size range, colorways, and target market. State whether quantities are estimates or confirmed orders, and break them down by style, color, and size. Separate your desired delivery date from an agreed production schedule: fabric sourcing and sample approvals can affect timing.
- Style name and unique code
- Front, back, and detail drawings
- Intended fit: regular, oversized, cropped, or another clearly described silhouette
- Estimated quantity by color and size
- Reference images with notes explaining their purpose
2. Build a complete bill of materials
List the main fabric, lining, rib, thread, labels, closures, drawcords, and packaging. For each item, specify composition, construction, color reference, and any approved supplier or sample reference. For knit fabrics, include the target weight in GSM and an agreed tolerance. Specify whether the fabric should be brushed, washed, or otherwise finished.
A request such as “premium black hoodie” leaves many decisions open. A more useful brief describes the fabric structure, composition, target weight, surface feel, and reference swatch. If a material has not been selected, mark it as a sourcing request rather than an approved specification.
3. Make measurements repeatable
Provide a point-of-measure diagram and a size chart using one consistent unit. Explain how each measurement is taken—for example, chest width measured flat at a defined position below the armhole. Include tolerances and clarify whether dimensions apply before or after the agreed wash procedure.
For a hoodie, useful points include body length, chest width, shoulder width, sleeve length, sleeve opening, hem width, and hood dimensions. For a T-shirt, add neck opening and neck rib dimensions where relevant. Avoid relying on size labels alone: “large” does not define a finished garment’s dimensions.
4. Specify construction and decoration
Show seam locations, pocket dimensions, topstitching, rib attachment, and any reinforcement details that matter to your design. Ask the manufacturer to flag construction that may need adjustment for the selected fabric.
Supply clear artwork files and record the decoration method, finished dimensions, placement, and color references. Measure placement from named garment points rather than writing only “center front.” If you are comparing print or embroidery methods, approve a representative strike-off or decoration sample on the intended material before bulk production.
5. Add labels, packing, and inspection criteria
Include label artwork, placement, folding instructions, size identification, and packing requirements. Ask who is responsible for checking labeling rules in your destination market; do not assume a generic label is suitable everywhere.
Write down the checks that determine acceptance: measurements, visual workmanship, shade consistency, decoration placement, and agreed wash performance. Where testing is required, confirm the test method, pass criteria, and sample stage with your supplier or testing provider. A vague request for “good quality” cannot replace an agreed checklist.
6. Control revisions and sample approvals
Keep one current master file. After each sample review, issue a dated revision with annotated photos and a clear list of changes. Identify approved details separately from details that need correction. Confirm that the manufacturer has received the latest version before the next sample or production stage.
Before authorizing bulk production, agree which sample and documents define the approved product. Record any permitted differences in writing. This helps your team and the factory compare the same requirements during inspection.
A practical pre-quotation checklist
- Are the sketches and measurement chart consistent?
- Are fabric and trim choices approved or clearly marked for sourcing?
- Does every artwork file have dimensions and placement instructions?
- Are quantities split by size and color?
- Are sample review stages and responsibilities defined?
- Are labeling, packaging, and quality requirements documented?
Frequently asked questions
Can I request a quote without a finished tech pack?
Yes, you can start with sketches, references, and an initial brief. Ask which details are missing and which assumptions the preliminary quotation uses. Confirm the final specifications before treating that quotation as the basis for production.
Is a measurement chart enough?
A measurement chart defines dimensions, but it does not fully explain materials, construction, artwork, or packaging. Include those instructions alongside the size specification.
Discuss your custom apparel project with Pindon
Pindon works with brands on custom apparel projects. Explore our custom T-shirt range or read about the hoodie production process. When you are ready, send Pindon your tech pack and order brief to discuss material options, sampling, and a project-specific quotation.
Further reference: Techpack documentation on sketches, materials, and measurements.