A clear garment artwork placement helps your brand and supplier review the same requirements before production. Use this checklist when preparing your next sample brief.
Measure from named reference points
An instruction such as center chest needs a drawing. Identify whether your measurements start from the neckline seam, shoulder seam or center front. Define the artwork bounding box and units. Show the print or embroidery on both a flat technical drawing and a representative sample.
Check each garment size
Decide whether artwork keeps the same dimensions across sizes or changes with the garment. Review the smallest and largest proposed sizes. A design can move visually closer to a seam as the garment gets smaller. Check sleeve graphics with the arm in its intended position.
Review seams and pockets
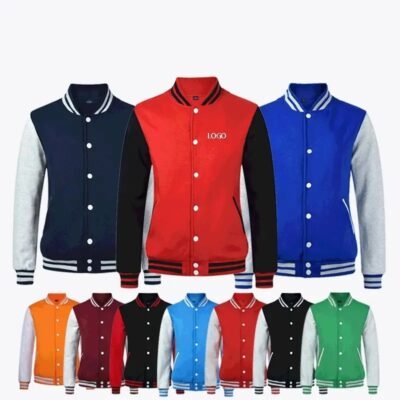
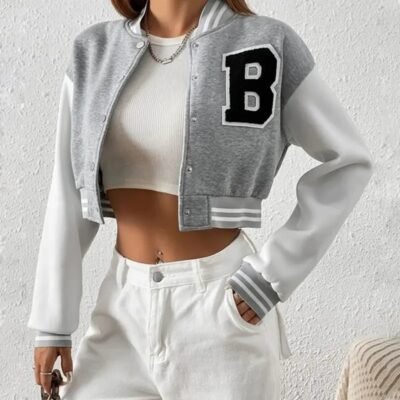
Mark pockets, zippers, plackets and panel joins on the drawing. Ask your decoration supplier to check access and propose a workable layout. Use the raglan varsity jacket concept to discuss sleeve panels and decoration boundaries.
Keep an approval record
Identify the artwork revision, file name, size and placement drawing. Check the physical sample against that record and document any permitted differences. Use the tech pack checklist to keep the instructions connected.
Send your design and sample requirements to Pindon Apparel. Materials, feasibility, minimum quantities, prices and schedules require project-specific confirmation. WhatsApp: +8613192081148 | Benny