Seam puckering in garments can turn a sample review into an unclear exchange of photographs and comments. A buyer may see ripples near a seam while the factory needs to know when they appeared, which panels are affected and what reference was approved. A useful review records those observations before deciding on a correction.
What is seam puckering?
Seam puckering describes unwanted gathering or wrinkling around a seam. First distinguish it from intentional gathers, shaping or surface texture in the design. Compare the affected area with the technical drawing and approved reference under similar viewing conditions.
Coats’ technical bulletin on seam puckering identifies several possible mechanisms: thread tension, structural interaction between the stitching and fabric, dimensional changes during treatment or washing, and uneven feeding of material layers. More than one factor may contribute. A photograph alone does not establish which mechanism caused the problem.
1. Document the sample before requesting a fix
Record the style code, sample size, color and revision. Identify the affected seam precisely, such as the left pocket opening or right side seam. Take an overall photograph for location and a closer photograph for appearance, keeping lighting and garment position consistent.
Note whether the garment has been pressed, washed or otherwise treated. Record the procedure and sample condition where known. Do not compare an untreated development sample with a washed reference without acknowledging the difference.
2. Describe the observation without guessing the cause
A useful comment might read: rippling is visible along the front zipper seam when the sample is laid flat; please investigate and resubmit this area for review. This identifies a location and an observed condition. It does not prescribe a machine adjustment without the information needed to justify it.
Keep related issues separate. Record broken stitches, open seams or measurement deviations individually if present. Ask the factory to assess the sample or a representative trial, and retain the original observation so that the next review can compare the same area.
3. Ask questions that support a controlled investigation
- At which stage was the change in seam appearance first observed?
- Does it occur on every sample or only particular sizes or colorways?
- Are the fabric and trims the intended production references?
- Which construction details and sewing conditions were used?
- What correction is proposed, and how will its effect be checked?
Ask the technical team to explain its findings in practical terms. If it proposes changing thread, needle, stitch details or handling, request a representative trial and a record of what changed. The appropriate choice depends on the actual materials and construction; this guide does not prescribe universal machine settings.
4. Agree what a satisfactory correction looks like
Use an agreed physical reference or documented appearance criteria for the relevant seam. Specify how and in what condition the revised sample will be reviewed. Avoid an approval that says only looks better while leaving the viewing method or remaining concern unresolved.
Review the revised garment as a whole as well as at the affected seam. Ask whether the proposed change affects other product requirements and which additional checks the project needs. An appearance improvement alone does not establish seam strength or durability.
5. Keep the review connected to sample approval
Record whether the correction is approved, requires another submission or remains pending. Attach the comments to the current garment sample approval checklist and identify the final reference the factory should follow.
If materials or construction change later, discuss whether the earlier review remains applicable. A correction verified on one sample should not be described as proof that every bulk garment has been inspected. Agree the scope of any production checks separately.
Frequently asked questions
Does every ripple mean the stitching is faulty?
Assess it against the design, garment shape and agreed reference. Intentional gathering and shaping need to be distinguished from an unwanted appearance.
Can the buyer diagnose the cause from a close-up?
A close-up helps document the concern, but the technical team may need the physical sample, material references and production history to investigate.
Discuss construction details with Pindon
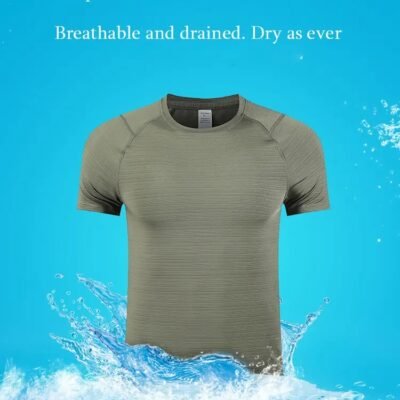
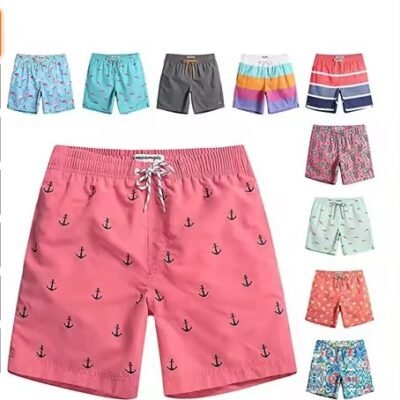
Use our raglan T-shirt concept or basketball shorts concept to begin a custom design discussion. These are design visualizations, not evidence of tested seam performance. Share your drawings, intended use and sample comments so we can discuss project-specific development. Materials, testing, minimum quantities, pricing and schedules require confirmation.
WhatsApp: +8613192081148 | Benny